
Welcome to the Clever Portal, an all-in-one platform to streamline access to your favourite education apps and resources. This comprehensive user manual will guide you through the login process and optimize your experience. Whether you’re an educator, student or administrator, following best practices will help you navigate seamlessly. Let’s delve into account setup, supported browsers, login options and more. By the end, you’ll be a pro at accessing all Clever offers from any device.
Creating an Account
To get started, visit portal.clever.com and click “Sign Up.” You’ll be prompted to provide an email address, choose a strong password and verify your role as Educator, Student or Administrator. Once complete, you’ll receive a confirmation email. Click the activation link to finalize registration. For added security, Clever supports multi-factor authentication via authenticator apps. Enable this optional setting under your profile for an extra layer of protection. Clever also integrates single sign-on via Google, ClassLink and other identity providers for streamlined login at participating districts.
Browser Support
The Clever Portal is optimized for modern browsers across desktop and mobile. We recommend using the latest Chrome, Firefox, Safari, Edge or Opera versions for full compatibility. Clever is continuously tested and updated to work seamlessly on these browsers. While the portal may function for others, issues could arise. For the best experience, always keep your browser up to date. You can also access Clever via Chrome or Safari on iOS and Android tablets and phones. Just remember to log out thoroughly when switching devices for optimal security.
Login Options
Once registered, you have multiple options for signing in. The fastest method is simply entering your email and password on the portal homepage. For a touch-friendly mobile experience, use the Clever app, available on Google Play and the App Store. Single sign-on via your district’s identity provider, like ClassLink SSO, provides seamless access without additional credentials. You can also sign in via personal Google or Office 365 accounts if enabled by your administrator. Whichever method you choose, be sure to log out when switching devices or locations entirely.
Profile Settings
Your Clever profile houses essential account details. To access, click your profile icon in the top-right corner after logging in. Here, you can update your name, email and password. Enable multi-factor authentication for added login security. Integrate personal accounts to sign in more conveniently. Review integrated apps to manage permissions. Download usage reports to your device. Get support by contacting Clever directly within the portal. Be sure to routinely check for updates here and throughout the platform to keep your experience optimized. Pay attention to security best practices for optimal protection.
Homepage Overview
The Clever homepage provides a dashboard view of your favourite integrated resources. Apps, websites and files will automatically populate based on your student, teacher or administrator role. Use the search bar for quick access. Filter options allow customizing your view. Click any tile to launch the associated program directly without exiting Clever. You’ll also find important announcements and tips. Be sure to explore recommended content tailored to your needs. The homepage aims to be your one-stop portal for all education technology needs.
App Center
For a complete list of available apps, visit the App Center within Clever. Browse featured selections or filter by category like Literacy, Math or Coding. Read product descriptions before adding any app. Once installed, it will appear on your homepage for one-click access. You can also search or filter the extensive catalogue. Apps are routinely tested and updated by Clever to ensure seamless integration. Be sure to provide any feedback to help shape future releases. The App Center ensures you maximize Clever’s vast partner marketplace.
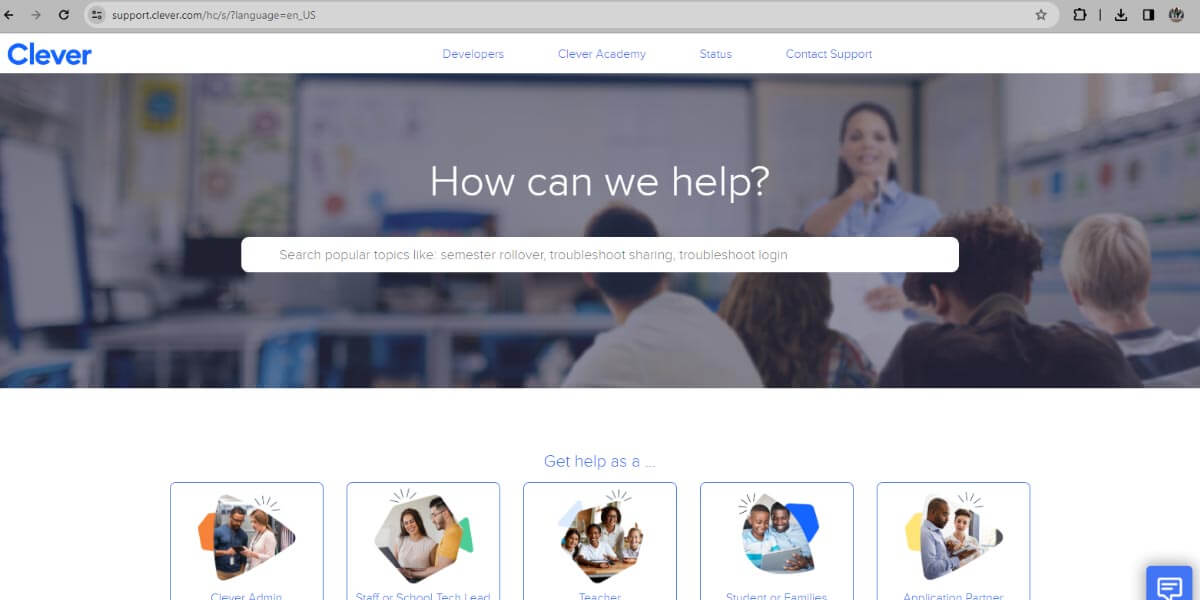
Support Center
Questions? Clever’s Support Center has you covered. Browse frequently asked topics or use the search bar. Submit new support tickets directly from within the portal. You’ll receive timely, helpful responses from our dedicated team. Access release notes and patch notes to stay on top of updates. Review technical documentation and how-to guides for deeper dives. Connect with other users through community forums. We also offer phone, email and live chat support during business hours. We aim to provide an excellent experience. Don’t hesitate to reach out – we’re here to help!
Integrating Personal Accounts
For added convenience, Clever allows the integration of personal Google and Office 365 accounts. This enables single sign-on using those credentials. To add an account:
- Log in and visit your Profile settings.
- Select “Integrate Account” and authorize Clever access.
- Choose the appropriate account type from the options. You may be prompted to sign in.
Once complete, you can seamlessly sign in to Clever using those login credentials. This streamlines access across platforms. Remember to log out of personal accounts thoroughly when switching devices to ensure privacy.
Customizing Your Homepage
The Clever homepage is fully customizable. You can rearrange tiles, add/remove apps and filter your view. To move a tile:
- Drag and drop it to the desired spot.
- Right-click any tile to access the context menu with additional options like uninstalling apps. You can also filter your view using the dropdown menu.
- Select “Installed Apps” to view only added programs or “All Apps” for a complete catalogue.
- Adjust these settings regularly to optimize your dashboard as needs change.
Taking control customizes your experience for maximum productivity and ease of use.
Read More: WakeID Portal Login Guide for Students
Integrating with SIS Systems

For schools using Student Information Systems (SIS), Clever seamlessly connects those platforms. This enables single sign-on and automated provisioning/de-provisioning of user accounts. Administrators should integrate their SIS of choice (ex, PowerSchool, Infinite Campus, etc.) within the Clever District Dashboard to get started. This process involves entering API keys to establish permission read/write access. Once complete, user data like rosters and enrollments are dynamically synced between the SIS and Clever. This automation saves time and ensures accurate and up-to-date information between systems for a holistic student experience.
Conclusion
In conclusion, this user manual has equipped you to optimize your Clever Portal experience. Please don’t hesitate to revisit sections as needed. Be sure to keep your browser and Clever profile updated. Leverage the full breadth of features and get assistance through our Support Center. Following best practices will help you navigate seamlessly. Clever strives to streamline access to best-in-class education technology. Enjoy all the portal has to offer – happy learning!